How to install interior window trim:
- window stool, flat molding that attaches to the interior side of the windowsill
- window casing, interior molding applied around the top and sides of the window and used to form the apron below
- carpenter's glue, applied to mitered joints of window casings
- rag, used for wiping off excess glue
Tools for How to Install Window Trim:
- a power miter saw, used to cut the moldings to length
- tape measure
- scribe or pencil compass used to mark the window stool for trimming
- jigsaw used to trim the stool
- nail gun with finishing nails used to attach moldings (could also use hammer and nail set)
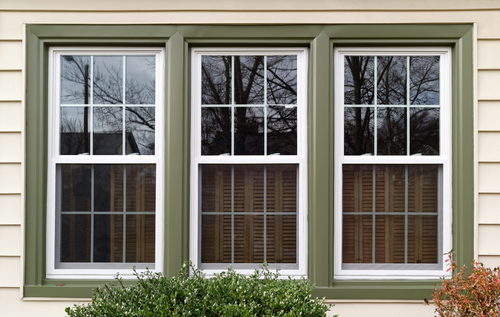
We don’t always need to trim the interior of our windows but when we do we want the woodwork to enhance the customers home. After all, a little trim makes a huge impact on new replacement windows. It makes the room look so much better.
The attached video is from “This Old House”


Write a Comment